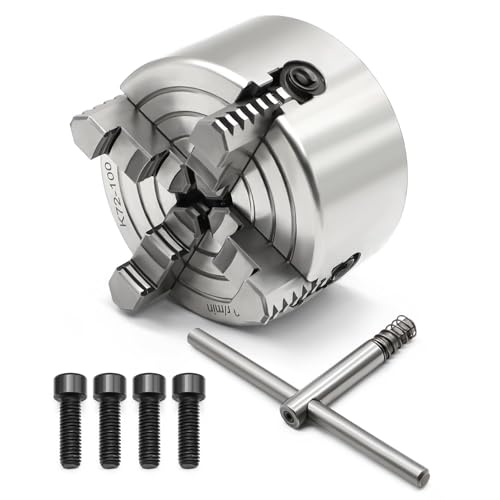
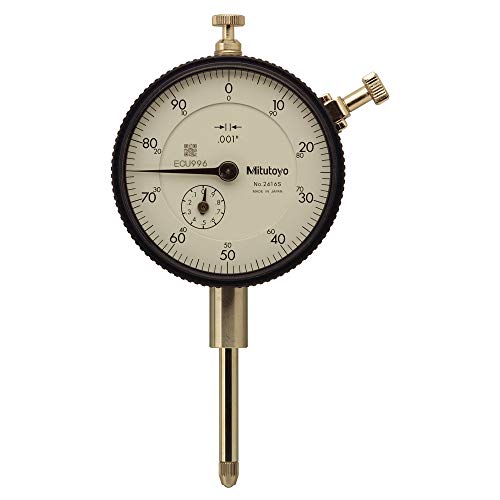
Mount a dial indicator with magnetic base at $29.89 on the bed or tool post, rotate the 4-jaw chuck at $54.99 by hand, and adjust opposing jaws by half the indicated runout until the needle barely moves through a full rotation. Expect a handful of adjustment cycles before the reading settles, not a single correction.

Dial Indicator with Magnetic Base
Check price on Amazon
K72-100 Lathe Independent Chuck 4 Inch Manual Chuck 4 Jaw 3500 r/min
Check price on AmazonWhy does a 4-jaw chuck need indicating at all?
Unlike a 3-jaw self-centering chuck, each jaw on a 4-jaw independent chuck moves on its own screw, with no mechanism forcing the four jaws toward a common center. That independence is exactly what makes a 4-jaw useful for square stock, castings, and deliberately offset work, but it means every new part must be manually centered before turning. Skipping this step, or centering it only by eye, leads to a part that wobbles, cuts unevenly, or comes out with a wall thickness that varies around the diameter.
A part that looks centered by eye alone can easily be off by several hundredths of an inch, which is invisible at a glance but produces a dramatically uneven cut the moment power is applied. The few minutes spent indicating properly are far cheaper than scrapping a part partway through a cut, or worse, having a poorly centered heavy casting come loose under rotation.
What is the half-the-error indicating method?
The core technique is simple: find the high and low points with the indicator, then move the part by roughly half the difference between them, not the full amount. Moving the full error overcorrects, since tightening one jaw pushes the opposite side out; splitting the correction in half converges on true center within a handful of passes.
- Mount the part loosely in the 4-jaw, leaving enough jaw engagement to allow adjustment.
- Set up the dial indicator on the bed, tool post, or a magnetic base so its tip contacts the part near the chuck face.
- Rotate the spindle by hand through a full turn, noting the highest and lowest needle readings.
- Identify which two opposing jaws correspond to the high and low points.
- Loosen the jaw at the high point slightly while tightening the opposite jaw the same amount, moving the part by roughly half the total indicated runout.
- Rotate again and re-check; repeat the half-correction adjustment until runout is within tolerance for the job.
- Once centered near the chuck face, check again further out along the part if it is long enough to flex or reveal a bent bar.
- Snug all four jaws evenly once truing is finished, checking one more full rotation to confirm nothing shifted.
Where should the dial indicator contact the part?
For round stock, contact the outside diameter near the chuck jaws for the first centering pass; that is where jaw pressure has the most direct effect on position. For square or irregular stock, or for setups needing precision along the length, check a second point further from the chuck to catch any taper or bend that centering only at the jaws would miss.
On stock with a rough or scaled surface, such as hot-rolled bar or a raw casting, take the indicator reading on a small area cleaned or lightly filed flat rather than on the scaled surface itself, since surface irregularities read as false runout that has nothing to do with the actual center position of the part.
| Stock type | First check point | Second check point |
|---|---|---|
| Round bar | Near chuck face, on the OD | Further out if part is long |
| Square stock | Near chuck face, on a flat | Adjacent flat for squareness |
| Casting or irregular part | Reference surface nearest final feature | Second reference surface if critical |
What tolerance is realistic for hobby work?
For most hobby turning, getting runout down to a couple thousandths of an inch (0.002 in or better) with patience and a dial indicator is entirely achievable and sufficient for the vast majority of projects. Precision work chasing 0.0005 in or tighter takes more iterations and a finer resolution indicator, and usually only matters for parts mating to tight tolerance fits.
How does centering an offset or eccentric part differ?
Deliberately offset work, such as a crankshaft throw or a cam lobe, uses the same half-the-error technique but centers the indicator on a marked or calculated offset point rather than true zero runout. Lay out the offset distance first with a height gauge or scribed centerline, then indicate the part so the high and low points sit at the calculated offset from the chuck axis instead of coinciding with it.
This is meaningfully more fiddly than centering true, since there is no single zero-runout target to chase; instead the indicator needle should swing through a specific range matching twice the intended offset as the spindle rotates. Sketching the target numbers on paper before starting, rather than trying to hold them in memory, avoids a common source of error on these setups.
What common mistakes slow down indicating a part?
The most frequent mistake is overcorrecting by moving a jaw the full indicated error instead of half, which turns a quick two or three pass process into a much longer back-and-forth. A close second is failing to fully seat all four jaws with even, moderate pressure before starting to indicate, since a loosely seated jaw can shift slightly under the pressure of tightening its neighbors, undoing progress that seemed complete.
A third common issue is checking runout at only one point on a longer part, missing a bend or taper that only shows up further from the chuck. Always verify a second point along any part with meaningful length once the near-chuck reading looks true, especially before starting a cut that depends on consistent wall thickness or concentricity along the full length.
Shop the tools for this
An even spread across the price range, cheapest to premium.




Frequently asked questions
Why move the jaw by half the error instead of the full amount?
Tightening one jaw pushes the part away from that jaw and toward the opposite side, so moving the full indicated error overshoots center in the other direction. Splitting the adjustment in half converges toward true center gradually instead of overcorrecting back and forth.
Can a 4-jaw chuck hold square stock?
Yes, that is one of its main advantages over a 3-jaw self-centering chuck. Each jaw moves independently, so square, hexagonal, or irregular stock can be centered and gripped in ways a self-centering chuck cannot manage.
How long does indicating a part usually take?
A few minutes for a straightforward round part with practice, longer for square stock, castings, or tight tolerance work. It gets noticeably faster with repetition as the half-the-error adjustment becomes intuitive.
Do I need a dial test indicator or a plunge dial indicator for this?
A plunge-style dial indicator with a magnetic base works fine for most 4-jaw centering work. A dial test indicator with a lever arm is more common for very tight tolerance work or for indicating in tight spaces, but is not required for typical hobby centering.
What if the part will not true up no matter how much I adjust?
Check that the jaws are seated fully against the part and that no chip or burr is trapped between a jaw and the stock. A bent bar or an out-of-round casting can also make full trueness impossible at every point along its length; in that case, prioritize truing the area nearest the feature being machined.
Keep going
Researched from published specifications, standards and verified owner reviews. Not professional advice. How we research.